
Christmas Cookie Bars

A festive, crowd-pleasing tray of cookie bars studded with chocolate chips, optional nuts, and colorful sprinkles — easy to make and perfect for holiday gatherings.
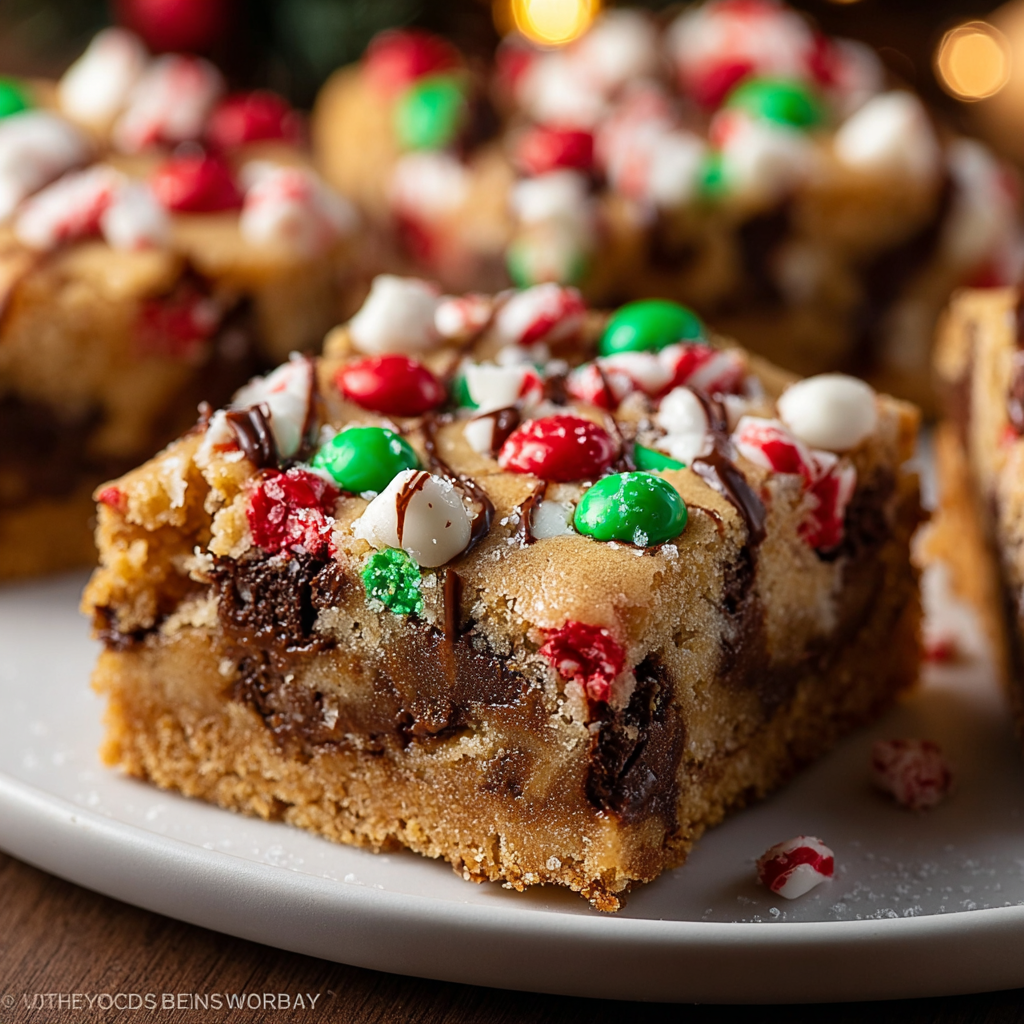
This tray of Christmas cookie bars has been my go-to holiday treat ever since I swapped a traditional drop cookie day for something that travels, stacks, and feeds a crowd with far less fuss. I first developed this version during a hectic December when I needed a dessert that could be made ahead, cut into perfect squares, and still look festive on the buffet table. The texture is soft and slightly chewy in the center with just enough crisp at the edges — a balance that keeps both kids and adults coming back for another piece.
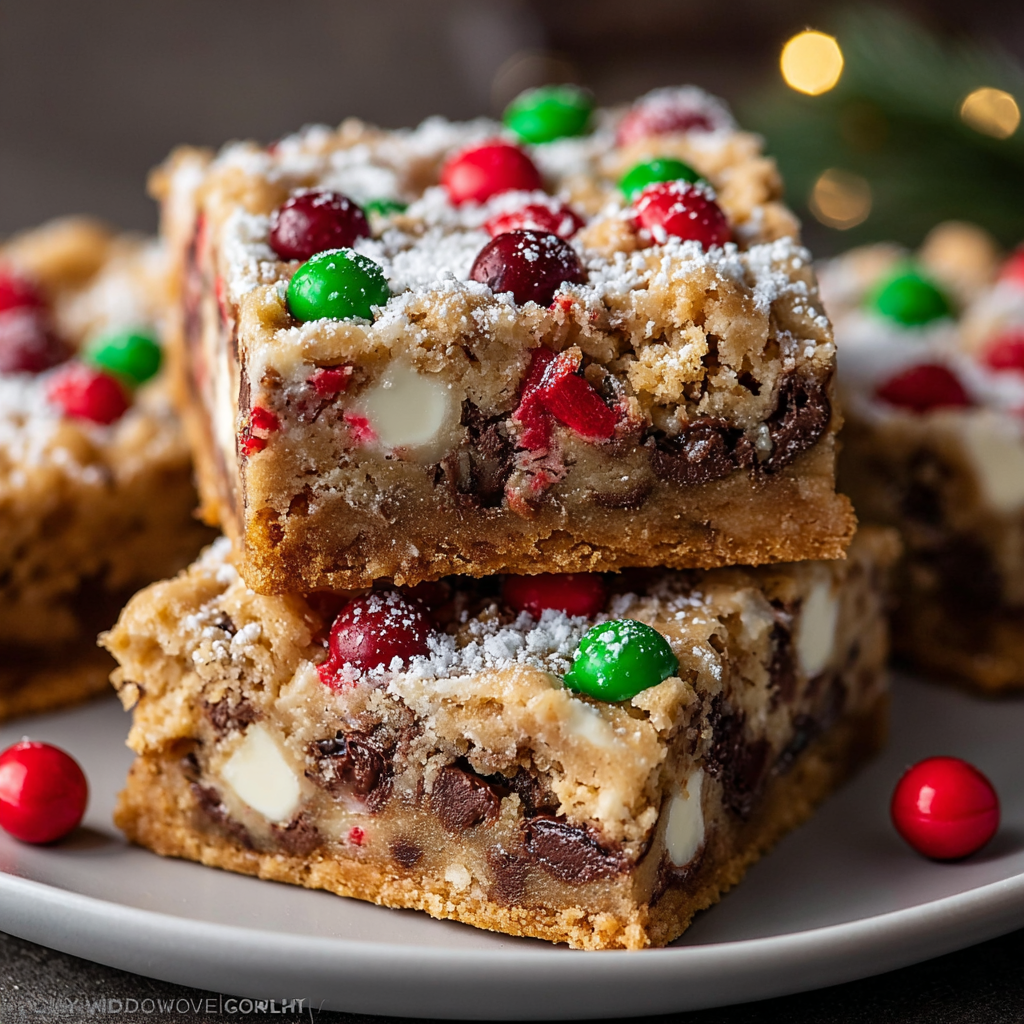
I discovered the beauty of baking in a single 9x13 pan while testing batch-friendly recipes for my family’s annual cookie exchange. These bars bake up faster than individual cookies and the surface provides a wonderful canvas for sprinkles and chopped nuts. The flavor is classic: brown sugar provides depth and chewiness, granulated sugar offers lift and crunch, and a generous 2 cups of chocolate chips ensures a chocolatey bite in every square. When friends ask for the recipe, they describe the first bite as “comforting and festive,” and I’ve found that making this recipe with a mixture of semi-sweet and milk chocolate chips keeps the sweetness balanced and never cloying.
Why You'll Love This Recipe
- Ready in about 45 minutes from start to finish, making it ideal for last-minute baking or school parties — the active prep time is only about 20 minutes.
- Uses pantry staples: butter, flour, sugar, eggs, and chocolate chips — no rare ingredients required and easy to scale up for a crowd.
- Make-ahead friendly: you can bake these a day in advance and the bars will stay moist; for longer storage, freeze individual squares for up to 3 months.
- Customizable: add chopped nuts, swap in white chocolate, or use holiday M&Ms instead of sprinkles to match your color theme.
- Kid-friendly decorating: the flat top is perfect for festive sprinkles, candy bits, or a quick glaze if you want a shinier finish.
- Great for gifting — slice into neat squares, stack in parchment-lined boxes, and tie with ribbon for a simple present.
Personally, these bars became a family favorite the year my toddler insisted on decorating every square; the joy of colorful sprinkles and sticky fingers turned one batch into an annual tradition. At our cookie exchange, they’re always the first to disappear — partly because they’re forgiving to make, partly because they pair so well with coffee and holiday afternoon chatter.
Ingredients
- Unsalted butter (1 cup): Use real unsalted butter, softened to room temperature for easy creaming. I prefer a higher-fat European-style butter when available for richer flavor.
- Granulated sugar (1 cup): Gives structure and a little crunch to the edges — measure by spooning into the cup for accuracy.
- Brown sugar, packed (1 cup): Adds moisture, depth, and chew. Dark brown sugar intensifies the caramel notes, while light brown keeps it milder.
- Large eggs (2): Bring structure and tenderness. Use room-temperature eggs so they blend smoothly into the butter and sugar.
- Vanilla extract (2 teaspoons): Real vanilla makes a notable difference; opt for pure vanilla extract instead of imitation for the best flavor.
- All-purpose flour (3 cups): The backbone of the bars — spoon and level into cups to avoid dense results. For a slightly tender crumb, you can substitute half with pastry flour.
- Baking powder (1 teaspoon) & baking soda (1 teaspoon): The combination gives lift and controlled spread — don’t skip either.
- Salt (1/2 teaspoon): Balances sweetness and enhances the chocolate flavor; reduce if using salted butter.
- Chocolate chips (2 cups): Semi-sweet or a mix of semi-sweet and milk chips works well; use high-quality chips for a more chocolate-forward bar.
- Chopped nuts (1 cup, optional): Toasted walnuts or pecans add crunch and a toasty aroma — omit for nut-free households.
- Festive sprinkles (1/2 cup): Use heat-stable sprinkles; add them after baking so colors stay bright.
Instructions
Step 1 — Prepare oven and pan: Preheat the oven to 350°F (177°C). Line a 9x13-inch baking pan with parchment paper, leaving an overhang on two sides to lift the bars out easily. Lightly grease the paper to prevent sticking. This ensures even baking and clean edges when you slice. Step 2 — Cream butter and sugars: In a large bowl, beat 1 cup softened unsalted butter with 1 cup granulated sugar and 1 cup packed brown sugar until light and fluffy, about 2–3 minutes with an electric mixer on medium speed. The creaming step traps air, creating a tender structure; scrape the bowl once to fully incorporate. Step 3 — Add eggs and vanilla: Beat in 2 large eggs one at a time, mixing well after each addition, then stir in 2 teaspoons vanilla extract. Ensure the eggs are fully incorporated to avoid streaks and to maintain even texture throughout the batter. Step 4 — Combine dry ingredients: In a separate bowl, whisk together 3 cups all-purpose flour, 1 teaspoon baking powder, 1 teaspoon baking soda, and 1/2 teaspoon salt. Sifting is optional but helps eliminate lumps and keeps the batter light. Step 5 — Mix batter and fold in add-ins: Add the dry ingredients to the butter mixture in two additions, mixing on low speed just until combined — avoid overmixing. Fold in 2 cups chocolate chips and, if using, 1 cup chopped nuts. Overworking the batter activates gluten, which can make bars tough. Step 6 — Bake: Spread the batter evenly into the prepared pan, smoothing the top with a spatula. Bake at 350°F for 20–26 minutes, rotating the pan halfway through. Bars are done when the edges are golden and a toothpick in the center comes out with a few moist crumbs — avoid a wet batter test to prevent overbaking. Step 7 — Cool, decorate, and slice: Allow the pan to cool on a wire rack for at least 20 minutes. Sprinkle 1/2 cup festive sprinkles across the warm surface so they adhere slightly, then cool completely before lifting from the pan and slicing into squares. For cleaner cuts, chill 15 minutes and use a sharp, warmed knife.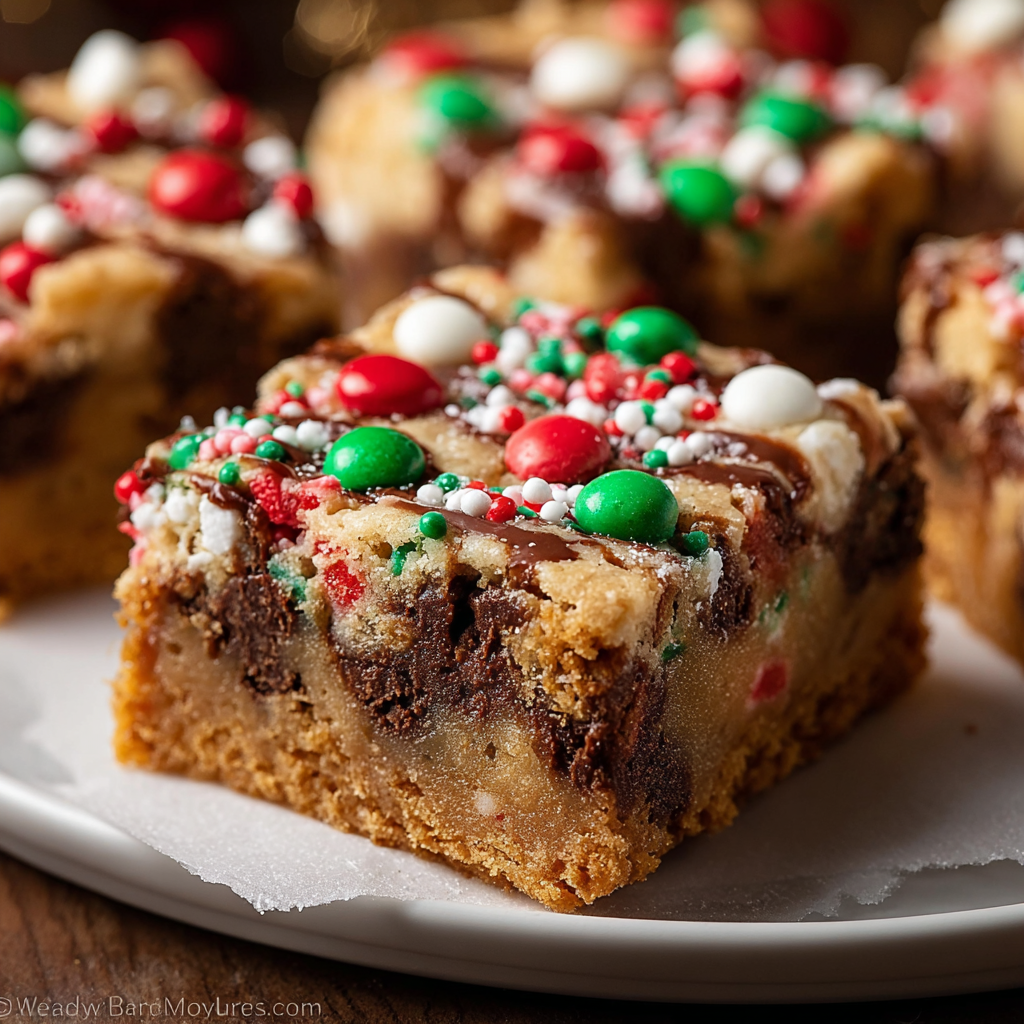
You Must Know
- These bars freeze exceptionally well — wrap individual squares in plastic and freeze for up to 3 months; thaw at room temperature for 30–60 minutes before serving.
- High in energy and sugar; one average square is roughly 280–330 calories depending on add-ins, so they’re best enjoyed in moderation.
- If you prefer a chewier center, underbake by 1–2 minutes; for crisper edges, bake an additional 2–3 minutes and watch closely.
- To keep sprinkles bright, add them while the bars are warm but not piping hot — this helps them set without melting colors into the surface.
My favorite aspect of this tray is how reliably it brings people together. At potlucks these bars bridge generational tastes: grandparents praise the familiar cookie flavors while kids love the bright decorations. I once brought a pan to a neighborhood open house and returned to find an empty tin — a sure sign that the recipe resonated with guests.
Storage Tips
Store cooled bars in an airtight container at room temperature for up to 3 days. For longer keeping, stack squares with parchment between layers and refrigerate for up to 1 week, or freeze individually wrapped in plastic and a tight container for up to 3 months. To reheat, microwave a single square for 10–12 seconds to restore a just-baked warmth, or warm a few in a 300°F oven for 5–7 minutes. Keep sprinkles protected from humidity to prevent color bleeding.
Ingredient Substitutions
For a dairy-free version, substitute salted or unsalted dairy-free butter alternatives and confirm chocolate chips are dairy-free — reduce added salt if using salted alternatives. To make them nut-free, omit the nuts entirely and add extra chocolate chips or toasted oats for texture. If you need gluten-free, use a 1:1 gluten-free flour blend designed for baking, and allow a slightly longer rest before baking for better hydration. Brown sugar can be swapped for coconut sugar for a deeper flavor, though texture will be slightly drier.
Serving Suggestions
Serve squares on a festive platter with garnishes such as extra chopped nuts, a dusting of powdered sugar, or a drizzle of melted white chocolate. Pair them with hot cocoa, mulled cider, or a robust black coffee to cut through the sweetness. For an elevated dessert, top each warm square with a scoop of vanilla ice cream and a sprinkle of flaky sea salt. They also work well boxed as neighborly gifts — stack neatly in parchment with a colorful ribbon.
Seasonal Adaptations
Swap sprinkles to match any holiday theme: red and green for Christmas, pastel for spring, or orange and black for Halloween. Add 1 teaspoon ground cinnamon and 1/4 teaspoon nutmeg for a spiced winter variation, or fold in 1 cup dried cranberries and white chocolate chips for a tart-sweet holiday twist. For summer gatherings, replace half the chocolate with chopped strawberries and chill before serving.
Meal Prep Tips
Make the batter up to one day ahead and refrigerate in a covered bowl; bring to room temperature and briefly re-whip before spreading in the pan. Alternatively, bake a full pan and freeze slices individually for grab-and-go treats during the holiday rush. Use the overhang of parchment to lift bars cleanly from the pan, then slice with a warm, sharp knife for tidy edges — wiping the blade between cuts prevents dragging crumbs across squares.
Whether you’re feeding a crowd, sending a heartfelt gift, or simply want an easy and celebratory sweet to make with kids, these bars are a dependable choice. They combine convenience, flavor, and festive looks — a small tray of joy that’s quick to bake and even quicker to disappear.
Pro Tips
Use room-temperature eggs and butter for a smooth, evenly mixed batter.
Line the pan with parchment and leave an overhang to lift the bars out easily for clean slicing.
For even baking, rotate the pan halfway through the bake time and check at the earlier end of the time range.
If slicing neat squares, chill the pan 10–15 minutes before cutting and use a warm, sharp knife for clean edges.
This nourishing christmas cookie bars recipe is sure to be a staple in your kitchen. Enjoy every moist, high protein slice — it is perfect for breakfast or as a wholesome snack any time.
FAQs about Recipes
How do I know when the bars are done?
Bake until a toothpick inserted in the center comes out with moist crumbs but not wet batter. Total bake time is typically 20–26 minutes at 350°F.
Can I freeze the bars?
Yes — wrap individual squares tightly and freeze for up to 3 months. Thaw at room temperature when ready to serve.
Tags
Christmas Cookie Bars
This Christmas Cookie Bars recipe makes perfectly juicy, tender, and flavorful steak every time! Serve with potatoes and a side salad for an unforgettable dinner in under 30 minutes.
Ingredients
Base
Dry ingredients
Add-ins & decoration
Instructions
Prepare oven and pan
Preheat oven to 350°F. Line a 9x13-inch pan with parchment paper and lightly grease it. This prevents sticking and makes removal easy.
Cream butter and sugars
In a large bowl, beat 1 cup softened butter with 1 cup granulated sugar and 1 cup packed brown sugar until light and fluffy, about 2–3 minutes.
Add eggs and vanilla
Beat in 2 large eggs one at a time, then stir in 2 teaspoons vanilla extract until smooth and homogenous.
Combine dry ingredients
Whisk together 3 cups all-purpose flour, 1 teaspoon baking powder, 1 teaspoon baking soda, and 1/2 teaspoon salt in a separate bowl.
Mix batter and fold in add-ins
Add dry mix to the wet ingredients in two additions, mixing on low until just combined. Fold in 2 cups chocolate chips and 1 cup nuts if using.
Bake
Spread batter evenly in prepared pan and bake at 350°F for 20–26 minutes, rotating halfway. Bars are done when edges are golden and a toothpick shows moist crumbs.
Cool, decorate, and slice
Cool for at least 20 minutes, sprinkle with 1/2 cup festive sprinkles while warm, then lift from pan using parchment overhang and slice into 16 squares.
Last Step: Please leave a rating and comment letting us know how you liked this recipe! This helps our business to thrive and continue providing free, high-quality recipes for you.
Nutrition
Did You Make This?
Leave a comment & rating below or tag
@yummyhues on social media!
Categories:
You might also like...
Air-Fried Rice Paper Noodle Rolls
Light, crisp rice paper rolls filled with vermicelli, tofu or shrimp and vibrant vegetables—air-fried to golden perfection for a healthy, speedy snack or appetizer.
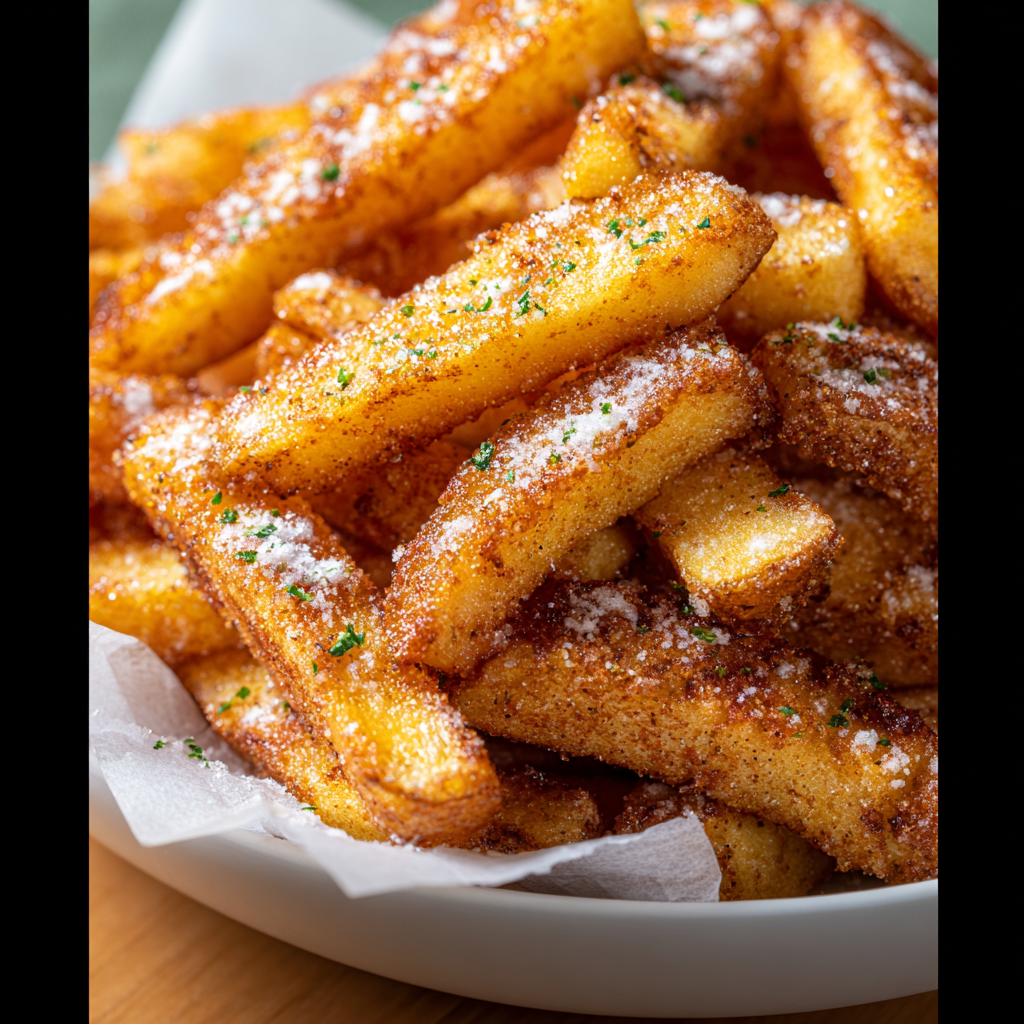
Air Fryer Apple Fries
Crispy, lightly sweet apple sticks coated in panko and cinnamon, ready in minutes from the air fryer. A simple, family friendly snack or dessert.
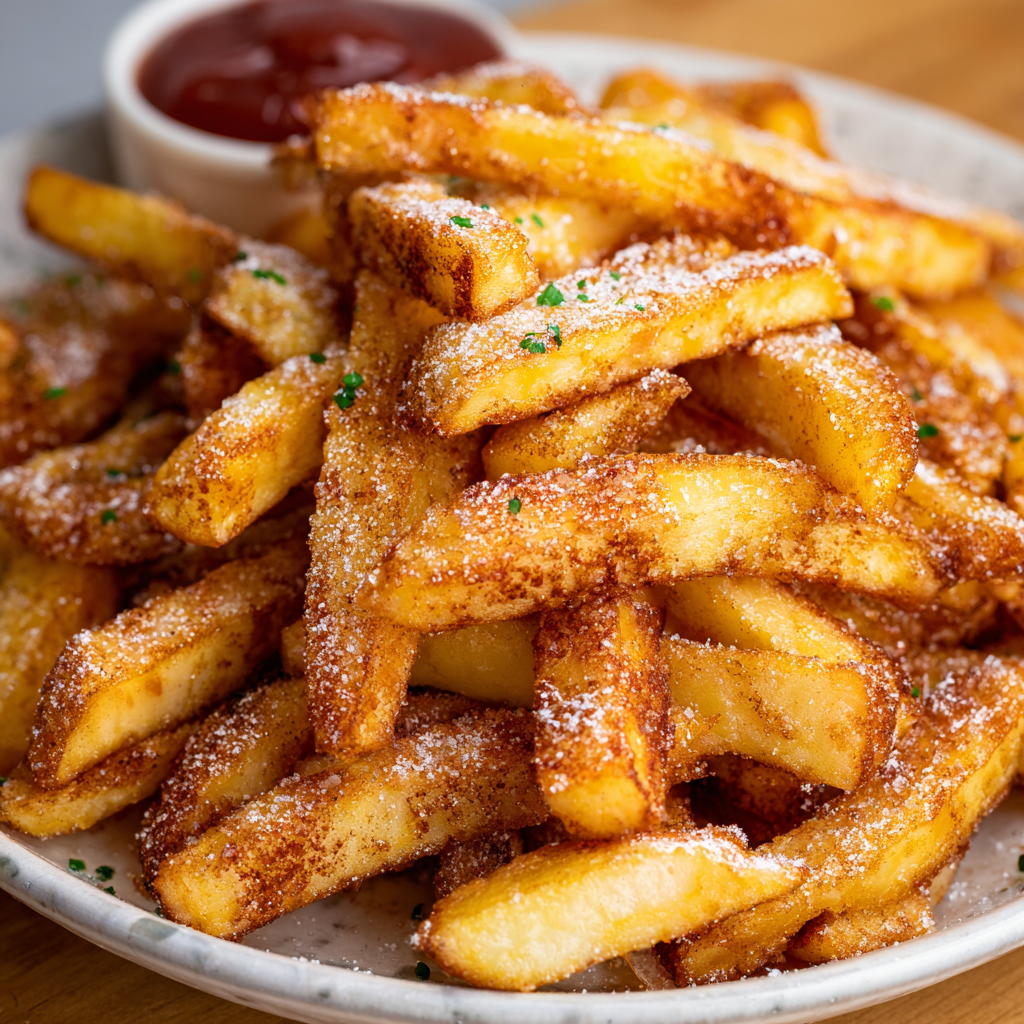
Air Fryer Apple Fries
Crispy, cinnamon-kissed apple sticks air-fried to golden perfection — a quick snack that tastes like dessert, but feels delightfully fresh.
Did You Make This?
Leave a comment & rating below or tag @yummyhues on social media!
Rate This Recipe
Share This Recipe
Enjoyed this recipe? Share it with friends and family, and don't forget to leave a review!
Comments (1)
This recipe looks amazing! Can't wait to try it.
Comments are stored locally in your browser. Server comments are displayed alongside your local comments.
Hi, I'm Chloe!
What's Popular
30-Minute Meals!
Join to receive our email series which contains a round-up of some of our quick and easy family favorite recipes.