
Grinch Mini Cheesecakes

Bright neon-green mini cheesecakes with an Oreo crumb base — a playful, crowd-pleasing holiday treat that's simple to make and fun to decorate.
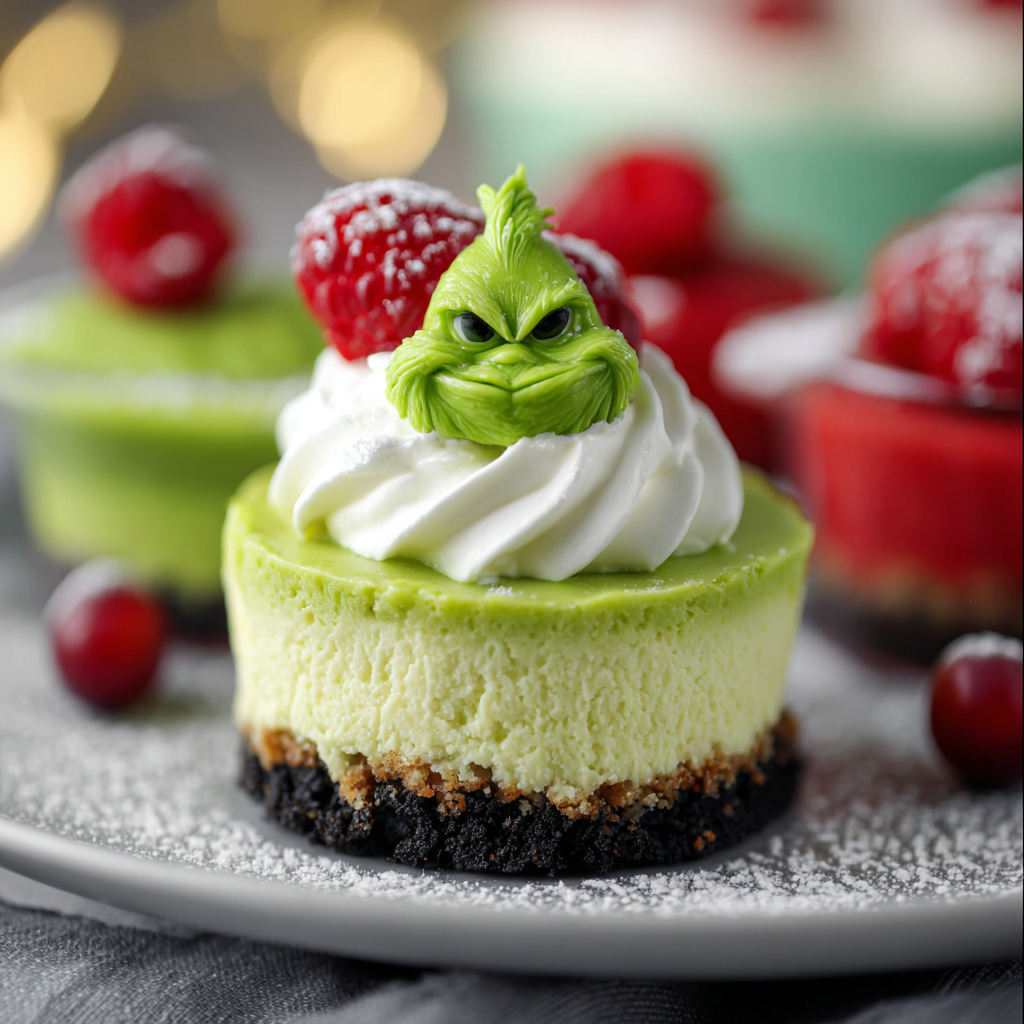
This playful Grinch mini cheesecake started as a tiny project to make my holiday dessert table more joyful, and it quickly became the star of every gathering. I discovered the combination one December evening while trying to adapt a classic baked cheesecake into a grab-and-go party sweet. The neon green color is impossible to ignore — it tastes like a familiar creamy cheesecake but looks mischievously festive, and kids instantly gravitate to the color while adults appreciate the balanced sweetness and smooth texture. I love how a handful of pantry staples transforms into something whimsical without hours of fuss.
What makes these special is the texture contrast: a crisp, chocolatey Oreo crumb base paired with a rich-but-light filling that bakes just until set. The centers wobble gently when you remove them from the oven, which yields a silkier mouthfeel after chilling. I first served these at a year-end potluck and watched a grown friend take a bite, pause, grin, and ask for two more — that moment cemented them in my holiday rotation. They’re perfect for themed parties, school holiday events, or any time you want a compact, shareable treat.
Why You'll Love This Recipe
- Bright, show-stopping color that’s effortless to achieve using neon green coloring — perfect for holiday, Grinch, or themed parties.
- Quick to assemble: about 15 minutes of active prep and 15–17 minutes in the oven, then chill — ready in under 2 hours including refrigeration.
- Uses pantry staples: Oreos, cream cheese, sugar, eggs, vanilla — no specialty ingredients required.
- Make-ahead friendly: can be chilled overnight and decorated just before serving to save time on the day of your event.
- Kid-approved and easy to serve: individual portions remove the need for slicing and plating during a busy gathering.
- Customizable toppings allow you to tailor sweetness and texture — whipped cream, sprinkles, or mini candy make great finishing touches.
At my house these quickly became a seasonal favorite. I once prepped dozens for a classroom party where the teachers told me they'd never seen a dessert disappear so fast. They’re a small dash of whimsy with reliable flavor and technique — the sort of dessert I make when I want smiles without a fuss.
Ingredients
- Oreos / Crumbs: 1 cup Oreo cookie crumbs (about 10–11 whole Oreo cookies). Use standard Oreo cookies for the best chocolate-to-filling ratio; pulse in a food processor for an even crumb that compacts well as a base.
- Unsalted butter: 2 1/2 tablespoons melted. Using unsalted butter lets you control the salt level; melted butter binds the crumbs and crisps slightly as it cools.
- Cream cheese: 2 (8-ounce) packages (16 ounces total) full-fat cream cheese, softened. Let it come to room temperature so the filling whips smooth without lumps — Philadelphia is a reliable brand, but any good-quality full-fat block works.
- Granulated sugar: 1/2 cup. Provides structure and subtle sweetness; for a less sweet finish reduce to 3/8 cup (6 tablespoons).
- Large eggs: 2 eggs, at room temperature. Eggs provide structure and a silkier texture; warming them briefly in a bowl of warm water helps them blend without curdling the filling.
- Vanilla extract: 1 teaspoon pure vanilla. Quality vanilla amplifies the flavor and rounds the tang of the cream cheese.
- Neon green food coloring: Gel or liquid neon green food coloring, added to taste until your desired Grinch-y shade is reached.
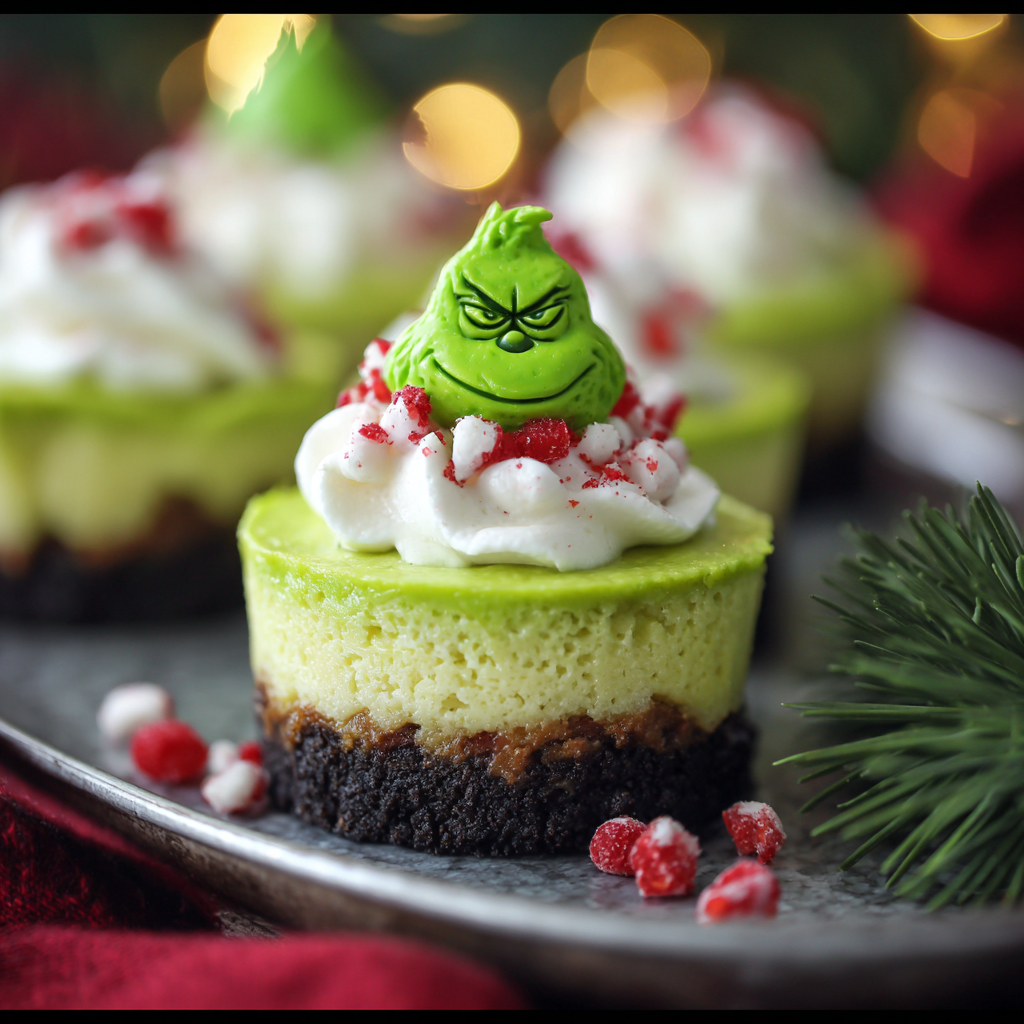
- Optional toppings: Whipped cream, red sprinkles, small candies, or mini peppermint pieces to create a festive finish; add just before serving.
Instructions
Preheat and prepare pans:Preheat the oven to 350°F (175°C). Line a 12-cup muffin tin with paper liners. This keeps mini portions uniform and makes them easy to remove; use sturdy liners so the bases hold when pressing in crumbs.Make the crust:Pulse about 10–11 Oreo cookies in a food processor until they are fine crumbs (about 10–15 quick pulses). Add 2 1/2 tablespoons melted butter and pulse until the mixture resembles damp sand. Divide evenly among the 12 liners and press firmly into the bottom using the back of a spoon or a small measuring cup to create an even base.Whip the filling:In a medium bowl, beat softened cream cheese with 1/2 cup sugar until completely smooth and free of lumps (about 2–3 minutes with an electric mixer). Add eggs one at a time, mixing on low speed just until incorporated to avoid over-aeration. Stir in 1 teaspoon vanilla extract. The goal is a silky batter — scraping the bowl often helps prevent lumps.Color and portion:Add neon green food coloring a drop at a time, mixing until you get the vibrant Grinch-green you want. Gel colors give better intensity with less product. Spoon about 1/4 cup of the filling into each prepared cup, leaving a small gap at the top for a neat edge.Bake and chill:Bake for 15–17 minutes. Centers should still have a slight jiggle when you gently shake the pan — this is the sweet spot for a creamy texture after chilling. Remove from the oven and let cool completely in the pan on a wire rack, then refrigerate at least 2 hours or until firm.
You Must Know
- These keep well in the refrigerator for up to 5 days when covered; freeze for up to 3 months wrapped tightly in plastic and in an airtight container.
- The centers will firm up as they chill; avoid overbaking to keep them creamy — remove when slightly jiggly.
- Not dairy-free, vegetarian (contains dairy and eggs), and not gluten-free due to the Oreo base; consider substitutions for dietary needs.
- Perfect for portion control and party service since they’re handheld and don’t require slicing.
My favorite aspect is the theatrical reveal: the bright green catches everyone's attention, but the familiar cream cheese flavor wins them over. I once brought a batch to a neighbor’s movie night and watched friends speculate wildly about the flavor before they tasted — then one by one they came back for more. The combination of nostalgia and novelty keeps people coming back.
Storage Tips
Store chilled cheesecakes in an airtight container in the refrigerator for up to five days. Place a sheet of parchment between layers if stacking is necessary to prevent smudging decorative tops. To freeze, arrange cooled cheesecakes on a baking sheet, freeze until firm (about 1 hour), then transfer to a freezer-safe container or bag; they’ll keep up to three months. Thaw in the refrigerator overnight and add whipped cream or fresh toppings just before serving for best texture.
Ingredient Substitutions
For a gluten-free version, swap the Oreo crumbs for a gluten-free chocolate sandwich cookie crumb or use a mixture of gluten-free graham cracker crumbs and cocoa. For a lighter filling, use 1 package of regular cream cheese and 1 package of Neufchâtel (reduced-fat), but expect slightly different texture and tang. For a dairy-free alternative, use a firm dairy-free spreadable cream cheese and a suitable egg replacer — results will vary, and baking time may need adjusting.
Serving Suggestions
Serve chilled with a dollop of lightly sweetened whipped cream and a sprinkle of red nonpareils to evoke the Grinch’s red heart or candy eyes for a playful touch. Plate on a festive tray with contrasts — dark chocolate shavings or crushed candy cane add texture and seasonal flair. These mini portions pair nicely with coffee, cocoa, or a sparkling non-alcoholic punch for family-friendly gatherings.
Cultural Background
Individual cheesecakes trace back to classic New York-style cheesecake but have been adapted into miniature formats for convenience and presentation. Turning them neon green to evoke the Grinch is a modern, playful twist inspired by pop-culture holiday themes — blending traditional American baking techniques with whimsical, contemporary aesthetics.
Seasonal Adaptations
For winter holidays, top with red sprinkles or tiny heart candies; for St. Patrick’s Day, use shamrock sprinkles. In summer, swap the Oreo base for graham crumbs and add lime zest for a brighter citrusy finish. Adjust coloring intensity based on season: softer hues for spring, bold neon for themed parties.
Meal Prep Tips
Make the crust and filling up to 24 hours ahead and refrigerate separately; assemble and bake on the day you serve. Alternatively, bake and chill fully, then freeze for longer storage. Pack individually in small airtight containers for easy transport to parties or potlucks. If transporting frozen, keep on ice until serving to maintain firmness.
Success Stories
One holiday open house required 60 small desserts, and these disappeared first. Guests complimented the balance of sweetness and the creamy texture; even someone who usually avoids rich desserts went back for a second. A classroom event was another hit — the teacher emailed me a week later asking for the “secret” to the bright green because the kids still talked about it. Those moments remind me that simple, thoughtful tweaks can make any gathering memorable.
Whether you’re aiming for festive fun or a simple, no-fuss dessert that pleases a crowd, these mini cheesecakes deliver. Make them your own and enjoy watching smiles appear as quickly as the fillings set.
Pro Tips
Allow cream cheese to reach room temperature before mixing to avoid lumps and ensure a smooth filling.
Remove from the oven when centers are slightly jiggly; they will firm up in the refrigerator for the right texture.
Press the crust firmly and evenly so the base holds when removing the mini cheesecakes from the liner.
Use gel food coloring for a more vibrant green with less liquid than liquid dyes.
Chill cheesecakes for at least 2 hours, preferably overnight, for the cleanest slices and best texture.
This nourishing grinch mini cheesecakes recipe is sure to be a staple in your kitchen. Enjoy every moist, high protein slice — it is perfect for breakfast or as a wholesome snack any time.
Tags
Grinch Mini Cheesecakes
This Grinch Mini Cheesecakes recipe makes perfectly juicy, tender, and flavorful steak every time! Serve with potatoes and a side salad for an unforgettable dinner in under 30 minutes.
Ingredients
Crust
Filling
Instructions
Preheat and prepare
Preheat oven to 350°F (175°C). Line a 12-cup muffin tin with sturdy paper liners to ensure easy removal and neat presentation.
Make the crumbs
Pulse 10–11 Oreo cookies in a food processor until finely ground. Add 2 1/2 tablespoons melted butter and pulse until the mixture is evenly moistened and resembles damp sand. Divide evenly among liners and press firmly into the bottom.
Whip the filling
Beat softened cream cheese with 1/2 cup sugar until smooth and lump-free. Add eggs one at a time on low speed, then mix in 1 teaspoon vanilla. Scrape the bowl to ensure even mixing.
Color and portion
Stir in neon green food coloring a little at a time until you reach the desired color. Spoon about 1/4 cup of batter into each prepared crust, filling cups evenly.
Bake and chill
Bake for 15–17 minutes; centers should be slightly jiggly when removed. Cool completely in the pan, then refrigerate at least 2 hours or until firm. Top with whipped cream and sprinkles just before serving.
Last Step: Please leave a rating and comment letting us know how you liked this recipe! This helps our business to thrive and continue providing free, high-quality recipes for you.
Nutrition
Did You Make This?
Leave a comment & rating below or tag
@yummyhues on social media!
Categories:
You might also like...

Air-Fried Rice Paper Noodle Rolls
Light, crisp rice paper rolls filled with vermicelli, tofu or shrimp and vibrant vegetables—air-fried to golden perfection for a healthy, speedy snack or appetizer.
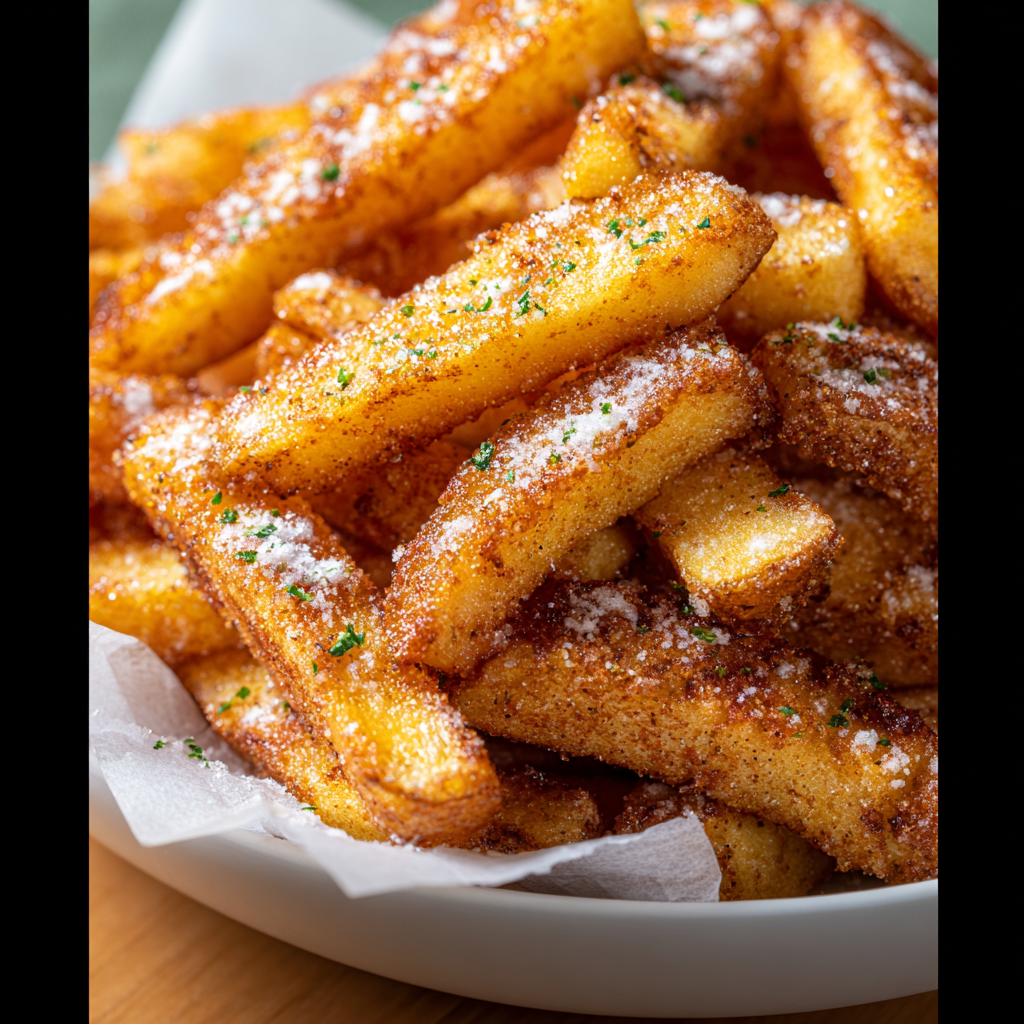
Air Fryer Apple Fries
Crispy, lightly sweet apple sticks coated in panko and cinnamon, ready in minutes from the air fryer. A simple, family friendly snack or dessert.
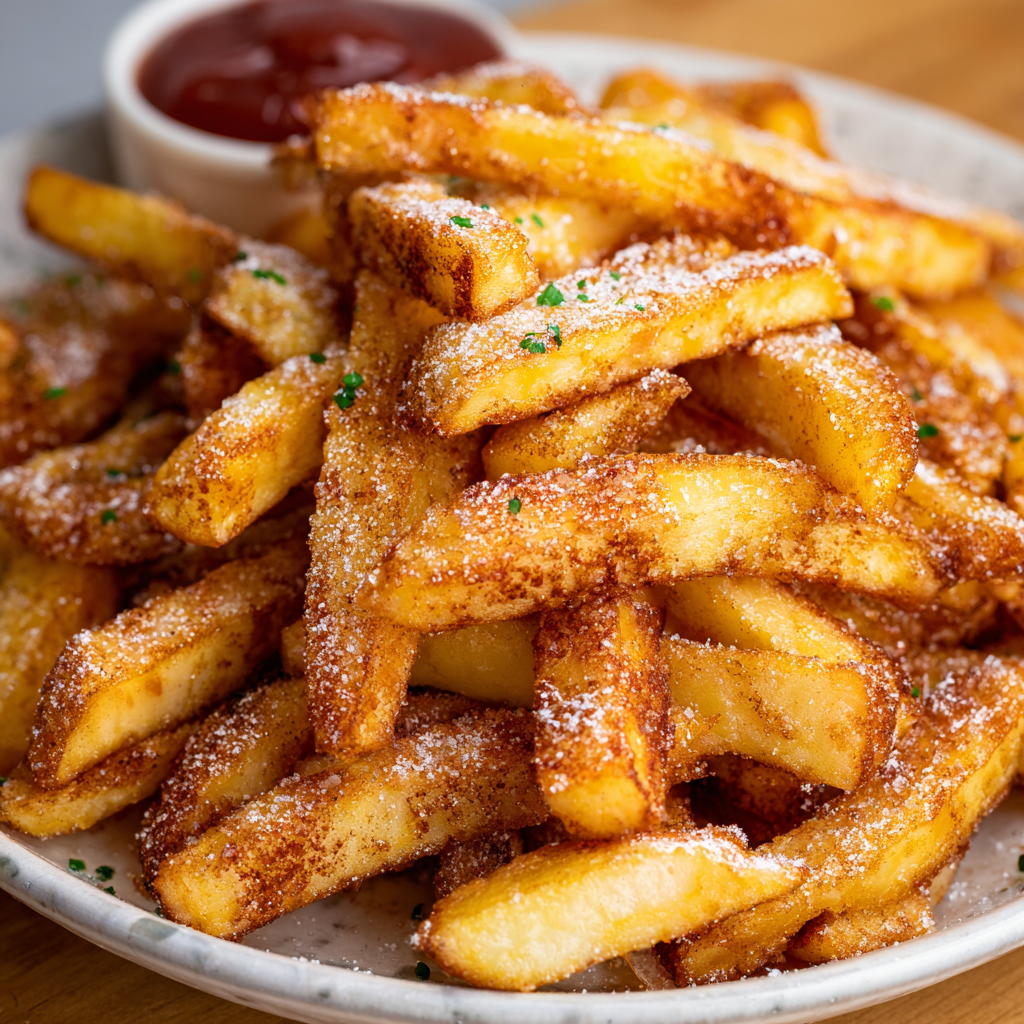
Air Fryer Apple Fries
Crispy, cinnamon-kissed apple sticks air-fried to golden perfection — a quick snack that tastes like dessert, but feels delightfully fresh.
Did You Make This?
Leave a comment & rating below or tag @yummyhues on social media!
Rate This Recipe
Share This Recipe
Enjoyed this recipe? Share it with friends and family, and don't forget to leave a review!
Comments (1)
This recipe looks amazing! Can't wait to try it.
Comments are stored locally in your browser. Server comments are displayed alongside your local comments.
Hi, I'm Chloe!
What's Popular

30-Minute Meals!
Join to receive our email series which contains a round-up of some of our quick and easy family favorite recipes.