
Homemade French Croissant

Buttery, flaky croissants made from laminated dough at home. Detailed, step-by-step guidance to shape, proof, and bake perfect French croissants.

This recipe is my favorite weekend baking project: homemade French croissants with deep golden layers and a tender, buttery crumb. I first learned the basics after watching a baker at a local patisserie roll and fold dough for hours; the result was so intoxicating that I set out to replicate that flaky texture in my kitchen. Over several trials I refined resting times, folding technique, and proofing cues until my family declared these croissants worthy of a slow Saturday morning. The long process rewards patience with light, crisp layers and a rich, slightly sweet finish that pairs beautifully with coffee or jam.
I love how this method blends technical technique with comfort: laminating dough is a tactile meditation, and cracking open a hot croissant to reveal airy honeycomb layers is the payoff. These are made with familiar pantry ingredients measured in standard US units. Expect several rounds of resting and chilling rather than constant active work; the hands-on time is manageable and the hands-off time allows flavors to develop. I include detailed visual cues, temperatures, and troubleshooting throughout so you can reproduce bakery-style results at home.
Why You'll Love This Recipe
- It yields bakery-quality croissants at home using simple pantry staples and clear folding instructions to build distinct flaky layers.
- The technique balances active prep and passive chilling; most of the time is hands-off, making it practical for a weekend baking session.
- Uses common equipment you likely already own: rolling pin, baking sheets, pastry brush and a sharp knife or bench scraper.
- Flexible timing: dough can be chilled overnight between turns for convenience, making it easy to split the process across two days.
- Crowd-pleasing texture and flavor — crisp exterior and tender, buttery interior — perfect for breakfast, brunch, or a special treat.
- Scales easily: double the quantities to bake for gatherings or halve them for a smaller batch.
In my house, these croissants became a ritual. One rainy morning the family gathered around the oven as the first batch came out, and the silence as everyone took their first bite said it all. My partner declared them the best I had made, our neighbor asked for the method, and the leftovers were finished the next day toasted with ham and gruyere. The process taught me patience: precise chilling and respectful handling of the butter are the real keys to success.
Ingredients
- All-purpose flour: 4 cups. Use a soft all-purpose flour like King Arthur or a regional equivalent. Measure by spooning into the cup and leveling or weigh for accuracy; flour provides the gluten structure that traps steam and separates the layers.
- Granulated sugar: 1/4 cup. Adds a touch of sweetness to balance the butter and to aid browning. Table sugar works well; you do not need superfine sugar.
- Salt: 1 tablespoon. A full tablespoon may sound like a lot but it seasons the dough throughout. Prefer fine sea salt or kosher salt measured by weight for consistency.
- Active dry yeast: 1 tablespoon. Bloom briefly in warm milk to confirm activity. Instant yeast can be substituted at 3/4 the amount if preferred.
- Warm milk: 1 1/4 cups. Heat to 100 to 110 degrees Fahrenheit to activate the yeast without killing it. Whole milk gives richer flavor but 2 percent works too.
- Unsalted butter, melted (dough): 2 tablespoons. A small amount of butter in the détrempe enriches the dough and helps tenderness.
- Butter block (beurrage): 1 cup unsalted butter (2 sticks). Use high-quality European-style butter if you can. Keep it cold and shape into a 6 by 6 inch flat square between parchment so it laminates cleanly.
- Egg (egg wash): 1 large egg plus 1 tablespoon milk. Whisk to a smooth wash for brushing before baking to get a glossy, deep golden crust.
Instructions
Activate yeast and mix dough:Warm 1 1/4 cups milk to 100 to 110 degrees Fahrenheit. Stir in 1 tablespoon active dry yeast and 1 teaspoon of the sugar and let sit 5 to 8 minutes until foamy. In a large bowl combine 4 cups flour, 1/4 cup sugar, and 1 tablespoon salt. Add the foamy yeast mixture and 2 tablespoons melted butter. Mix until a shaggy dough forms, then knead briefly by hand or 3 to 4 minutes in a stand mixer until it is smooth but not tight. The dough should be slightly tacky.First chill:Shape the dough into a flat rectangle, wrap in plastic, and chill 30 to 45 minutes. Chilling relaxes gluten and firms the dough, making lamination easier. The dough should be cool to the touch before you begin laminating.Prepare the butter block:While the dough chills, take 1 cup cold unsalted butter and place between two sheets of parchment. Use a rolling pin to bash and roll the butter into a 6 by 6 inch square about 1/4 inch thick. Keep the edges straight and chill the butter block until it matches the dough temperature; it should be pliable but firm, not melting.Enclose butter and roll out:Roll the chilled dough into a rectangle roughly 10 by 14 inches. Place the butter block centered on the bottom two-thirds of the dough and fold the top third of the dough over the butter, then fold the bottom third up over that so the butter is encased in three layers of dough like an envelope. Seal the edges and chill 20 to 30 minutes to let the butter firm.Turns and folds (lamination):Roll the dough into a long rectangle about 8 by 24 inches. Perform a letter fold (fold the top third down, then the bottom third up). Rotate the dough 90 degrees, wrap and chill 30 to 45 minutes. Repeat this roll, fold and chill process two more times for a total of three single folds. Keep edges neat and the butter cold; if butter shows, chill immediately.Final roll and shape:After the last rest, roll the dough into a rectangle about 8 by 24 inches and 1/8 to 1/4 inch thick. Trim the edges to be straight, then cut the dough into triangles roughly 4 inches wide at the base. For classic crescent shape, make a small slit at the base, gently stretch each triangle, roll from base to tip, and curve the ends inward. Place on parchment-lined baking sheets, leaving space to expand.Proof:Let shaped croissants proof at about 75 degrees Fahrenheit for 1 1/2 to 2 hours until they are puffy and jiggly and have increased by about 60 to 80 percent. Alternatively, proof overnight in the refrigerator for a slower rise and stronger flavor, bringing to room temperature before baking.Egg wash and bake:Preheat the oven to 400 degrees Fahrenheit. Whisk 1 egg with 1 tablespoon milk and brush gently on the surface, avoiding deflating the layers. Bake at 400 degrees Fahrenheit for 18 to 22 minutes, rotating the trays halfway through, until deep golden brown and the interior temperature reaches about 200 degrees Fahrenheit. For even browning, avoid opening the oven frequently.Cool and enjoy:Cool croissants on a rack for 10 to 15 minutes to let steam escape and layers set. Serve warm or at room temperature. They are best the first day but can be reheated in a 350 degree Fahrenheit oven for 5 to 8 minutes to refresh the crust.
You Must Know
- These croissants are rich in butter and carbohydrates; a single piece contains about 360 calories and delivers a satisfying breakfast portion.
- Proper chilling between turns is essential: if the butter melts into the dough the layers will not separate during baking, producing a dense pastry.
- Shaped croissants freeze well before proofing; freeze individually on a sheet and transfer to a bag for up to 1 month. Bake from frozen adding 10 to 15 minutes to proof and bake times.
- Proofing can be done slowly in the refrigerator overnight for more flavor and a more manageable schedule.
- Use a thermometer to ensure a final internal temperature near 200 degrees Fahrenheit for fully baked interiors without overbrowning.
My favorite part is the moment the first batch emerges from the oven: the intense aroma of browned butter and baked dough draws everyone to the kitchen. I once made a batch for a small brunch and a guest who seldom eats pastries asked for the recipe. Over time I tweaked the resting schedule to suit my refrigerator and found that an overnight proof makes shaping easier the next morning while deepening the flavor.

Storage Tips
Store cooled croissants in an airtight container at room temperature for up to 24 hours; beyond that they begin to lose crispness. For longer storage, wrap individually in foil and freeze for up to one month. To refresh frozen croissants, thaw at room temperature if time allows, then reheat in a 350 degree Fahrenheit oven for 5 to 10 minutes until warmed through and the crust is crisped. Avoid microwaving for long periods; it makes the crust chewy. Use parchment or rigid containers to prevent crushing during storage.
Ingredient Substitutions
If you prefer a lighter butter flavor, substitute half of the butter block with European-style butter for higher fat content and richer taste. For a slightly lower dairy option use a neutral oil in the dough portion only, but keep the butter block as butter for lamination because oil will not layer. If active dry yeast is unavailable, use instant yeast at 3/4 the amount and mix directly into the flour. Whole milk gives best richness, but 2 percent works fine. For a slightly sweeter pastry, glaze finished croissants with a thin sugar syrup.
Serving Suggestions
Serve warm with plain butter and jam, or make ham and gruyere sandwiches for a savory treat. Pair with strong coffee, a latte, or a glass of fresh orange juice for brunch. Garnish with a light dusting of powdered sugar for sweet versions or brush lightly with honey for a glossy finish. For an indulgent breakfast, split croissants and add scrambled eggs and smoked salmon with dill for a brunch centerpiece.
Cultural Background
Although the crescent-shaped viennoiserie is deeply associated with French patisserie, its laminated technique links to Central European viennoiserie traditions. The modern croissant evolved in France in the 19th century from Austrian kipferl and grew into the laminated, butter-rich version known worldwide. Regional variations exist across France and beyond, from plain butter croissants to almond-filled versions and savory twists. The method of layering fat and dough to create steam-driven flakiness is a hallmark of this pastry family.
Seasonal Adaptations
In autumn, fold in a thin layer of spiced apple compote or add a smear of pumpkin butter before rolling for a seasonal twist. In summer, fill with lightly sweetened lemon curd or fresh berries and pastry cream. For holiday gatherings, top with sliced almonds and a light sugar glaze or transform a batch into mini ham and cheese croissants for savory party bites. The basic technique adapts well to fillings but avoid overly wet fillings that can weigh down layers.
Meal Prep Tips
Break the process into manageable stages to fit your schedule: make the dough and refrigerate overnight after the first chill, then complete laminations and shape the next day. Shaped but unproofed croissants freeze individually on trays and store in freezer bags; when needed, move to the refrigerator overnight and then proof at room temperature before baking. Keep a small digital thermometer and a timer handy to hit the recommended temperatures and rest periods precisely.
Making croissants at home brings a bit of patisserie into your kitchen and rewards patience with remarkable texture. Share them fresh, and encourage friends to experience the simple pleasure of warm layers of butter and dough.
Pro Tips
Keep the butter and dough cold; if butter softens, chill before continuing to keep distinct layers.
Use a ruler when rolling to aim for consistent triangle sizes for even baking and uniform layers.
Perform three single folds with chilling in between; more folds will overwork the butter and increase risk of melting during work.
This nourishing homemade french croissant recipe is sure to be a staple in your kitchen. Enjoy every moist, high protein slice — it is perfect for breakfast or as a wholesome snack any time.
FAQs about Recipes
Can I freeze croissants?
Yes. Shaped croissants can be frozen before proofing for up to one month. Freeze on a tray then transfer to a bag and bake from frozen, adding time to proof and bake.
How warm should the milk be for the yeast?
Use a thermometer to ensure the milk is between 100 and 110 degrees Fahrenheit to activate the yeast without killing it. If the milk is too hot the yeast will not bloom.
Tags
Homemade French Croissant
This Homemade French Croissant recipe makes perfectly juicy, tender, and flavorful steak every time! Serve with potatoes and a side salad for an unforgettable dinner in under 30 minutes.
Ingredients
For the dough (détrempe)
Butter block (beurrage)
For the egg wash
Instructions
Activate yeast and mix dough
Warm milk to 100-110 degrees Fahrenheit and bloom yeast for 5-8 minutes until foamy. Combine flour, sugar and salt, add yeast mixture and melted butter, and mix until a smooth but slightly tacky dough forms. Knead briefly by hand or mixer for 3-4 minutes.
First chill
Shape the dough into a rectangle, wrap tightly, and chill for 30-45 minutes to relax gluten and firm the dough for lamination.
Prepare butter block
Place cold butter between parchment and roll into a 6x6 inch square about 1/4 inch thick. Keep cold and store in the refrigerator until ready to encase in dough.
Enclose butter and roll out
Roll dough to roughly 10x14 inches, place butter on lower two-thirds, fold top third over and then bottom third over that to enclose. Seal edges and chill 20-30 minutes.
Perform folds (lamination)
Roll to 8x24 inches and do a letter fold (single fold). Rotate 90 degrees, wrap and chill 30-45 minutes. Repeat two more times for a total of three folds, chilling between each.
Final roll and shape
Roll to a 8x24 inch rectangle about 1/8 to 1/4 inch thick. Trim edges, cut into triangles about 4 inches wide at the base, stretch gently, roll from base to tip and shape into crescents.
Proofing
Proof at about 75 degrees Fahrenheit for 1 1/2 to 2 hours until croissants are jiggly and puffy. Alternatively proof overnight in the refrigerator for a slower rise and better flavor.
Egg wash and bake
Preheat oven to 400 degrees Fahrenheit. Brush with egg and milk wash and bake for 18-22 minutes until deep golden, rotating pans halfway through.
Cooling and serving
Cool on a rack for 10-15 minutes to set layers. Serve warm or reheat at 350 degrees Fahrenheit for 5-8 minutes to refresh. Store leftovers at room temperature for a day or freeze for longer storage.
Last Step: Please leave a rating and comment letting us know how you liked this recipe! This helps our business to thrive and continue providing free, high-quality recipes for you.
Nutrition
Did You Make This?
Leave a comment & rating below or tag
@yummyhues on social media!
Categories:
You might also like...

Air-Fried Rice Paper Noodle Rolls
Light, crisp rice paper rolls filled with vermicelli, tofu or shrimp and vibrant vegetables—air-fried to golden perfection for a healthy, speedy snack or appetizer.

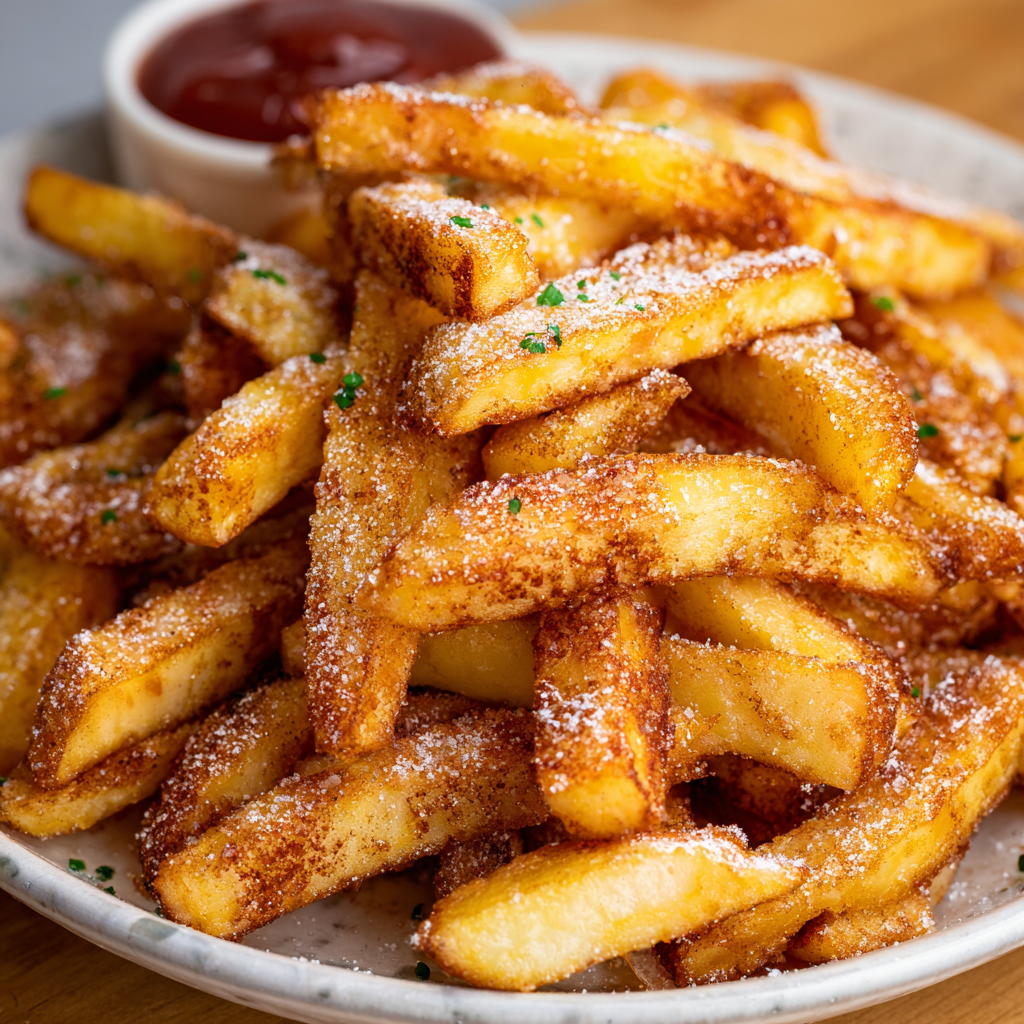
Air Fryer Apple Fries
Crispy, lightly sweet apple sticks coated in panko and cinnamon, ready in minutes from the air fryer. A simple, family friendly snack or dessert.
Air Fryer Apple Fries
Crispy, cinnamon-kissed apple sticks air-fried to golden perfection — a quick snack that tastes like dessert, but feels delightfully fresh.
Did You Make This?
Leave a comment & rating below or tag @yummyhues on social media!
Rate This Recipe
Share This Recipe
Enjoyed this recipe? Share it with friends and family, and don't forget to leave a review!
Comments (1)
This recipe looks amazing! Can't wait to try it.
Comments are stored locally in your browser. Server comments are displayed alongside your local comments.
Hi, I'm Chloe!
What's Popular

30-Minute Meals!
Join to receive our email series which contains a round-up of some of our quick and easy family favorite recipes.