
No-Bake Christmas Cheesecake Bites

Creamy, festive bite-size treats made with white chocolate, graham crumbs, and colorful candy melts—no oven required and perfect for holiday sharing.

This recipe began as a small holiday experiment in my tiny kitchen the December I decided to skip an oven for nearly everything. I wanted something creamy, festive, and fast to assemble for a cookie exchange, and the idea of tiny cheesecake bites coated in colorful candy melts felt like the perfect compromise. The first batch disappeared within an hour. The texture is luxuriously creamy from the cream cheese and whipped topping, offset by a delicate crunch from the graham crumbs and a sweet snap from the candy coating. They are poppable, portable, and loved by kids and adults alike.
I discovered how versatile these bites could be when I swapped graham crumbs for ginger snaps one year and added spiced sprinkles. What makes these special is how approachable they are: no special equipment, no baking, and the flavors are immediately familiar. Each bite delivers a smooth cheesecake mouthfeel and a festive exterior that’s instantly camera-ready. They are easy to double for a crowd, make wonderful edible gifts, and store well in the freezer for making ahead of holiday parties.
Why You'll Love This Recipe
- Simple and fast: ready to serve in about an hour with just 30 to 40 minutes of chilling time, ideal for last-minute hosts who need a show-stopping treat.
- Uses pantry staples: cream cheese, white chocolate chips, graham crackers, and whipped topping—ingredients that are easy to find year-round.
- Kid-friendly assembly: great to enlist helpers for rolling and decorating without any risk from hot ovens or stoves.
- Make-ahead friendly: freeze or refrigerate until needed; they hold shape and flavor well, so you can prepare days in advance.
- Customizable: swap crumbs, use dark chocolate, or change colors and sprinkles to match any holiday or party theme.
- Perfect portion control: 1-inch bites let guests sample without overindulging and make plating effortless.
My family’s reaction has always been immediate delight. The red and green candy coating became a running joke at our holiday table, with each person claiming the most decorated piece. I love that these little bites make holiday trays look abundant with very little effort and that they travel well when packed into small boxes for neighbors.
Ingredients
- Cream cheese (8 ounces): Use full-fat cream cheese for the creamiest texture. Room temperature is essential for a smooth blend; I recommend Philadelphia for consistent results.
- Powdered sugar (1/2 cup): Adds sweetness and helps stabilize the texture. Sift if your powdered sugar is lumpy.
- Vanilla extract (1 teaspoon): Pure vanilla enhances the white chocolate without overpowering the delicate flavor.
- White chocolate chips (1 cup): Melted and slightly cooled before folding in. Ghirardelli or Nestle are reliable; avoid compound coatings if you want a true chocolate flavor.
- Graham cracker crumbs (1 cup): Provides body and a subtle toasty flavor. Use finely crushed crackers or substitute with digestive biscuits for a slightly different note.
- Whipped topping (1/2 cup): Thawed Cool Whip keeps the filling light. Heavy cream whipped to soft peaks is a fresh alternative for a less processed option.
- Red and green candy melts (colored coating): These give the festive exterior. Melt according to package directions; candy melts set quickly and provide a nice snap.
- Holiday sprinkles: For decoration; choose nonpareils, stars, or jimmies that match the season.
Instructions
Prepare the base: Beat 8 ounces softened cream cheese in a large bowl until fully smooth and free of lumps. Use an electric mixer on medium speed for about 2 minutes. This step ensures the final texture is velvety instead of grainy. Sweeten and flavor: Sift and add 1/2 cup powdered sugar and 1 teaspoon vanilla extract. Mix on low until incorporated, scraping the bowl to prevent streaks. The powdered sugar stabilizes the filling and keeps the bites firm once chilled. Melt the white chocolate: Melt 1 cup white chocolate chips in the microwave in 20-second intervals, stirring between bursts until completely smooth. Let cool for 2 to 3 minutes so it is warm but not hot before folding into the cream cheese to avoid breaking the whipped topping. Combine crumbs and lightening agent: Fold in 1 cup finely crushed graham cracker crumbs until evenly distributed. Then gently fold 1/2 cup thawed whipped topping into the mixture using a rubber spatula; work carefully to keep the mixture airy while ensuring it holds together. Chill and shape: Refrigerate the mixture for 30 to 40 minutes to firm slightly. Scoop rounded 1-inch portions and roll into balls using clean hands. Place each ball on a parchment-lined baking sheet, spacing them at least 1/2 inch apart. Melt and color the coating: Melt red and green candy melts separately according to package instructions. Use forks or dipping tools to coat each chilled ball, tap off excess, then transfer to fresh parchment to set. Immediately add sprinkles before the coating fully hardens.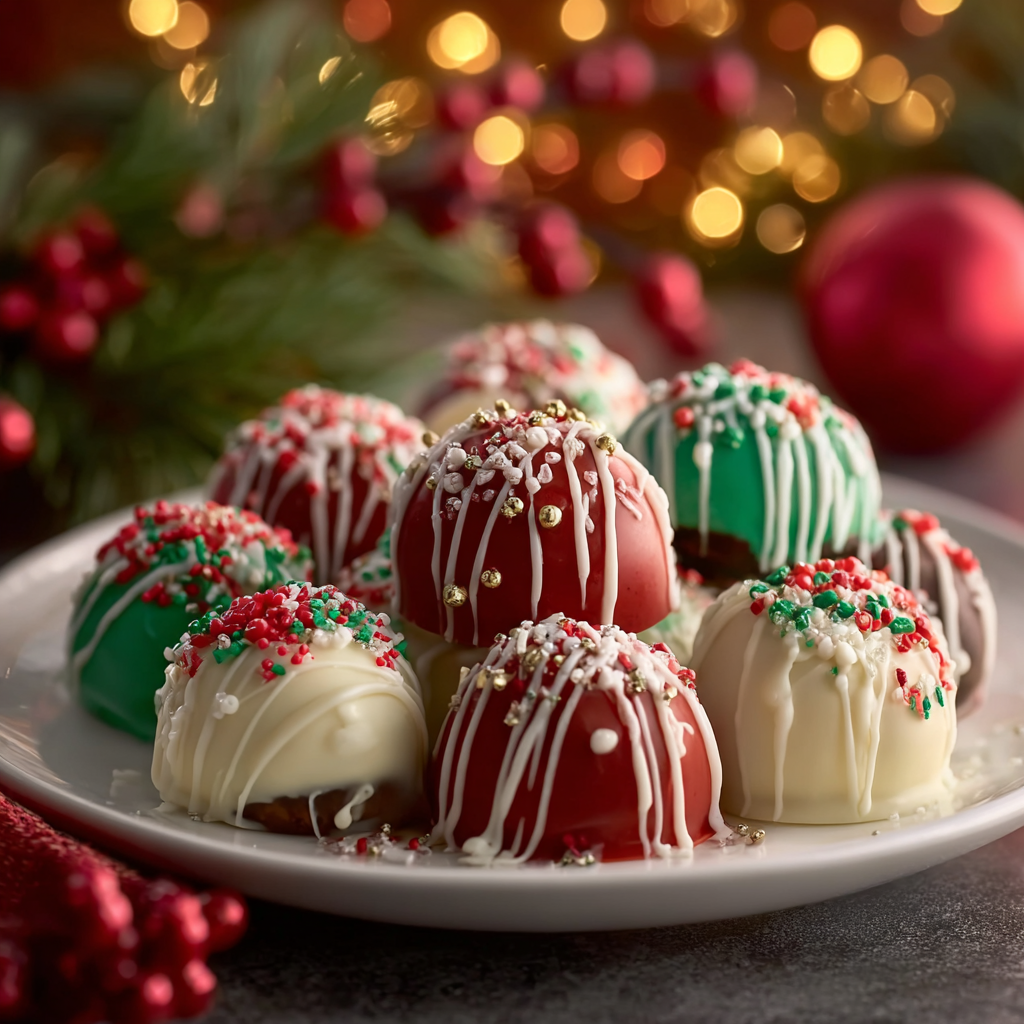
You Must Know
- These bites are high in calcium and fat due to cream cheese and white chocolate; serve small portions for balance.
- Store refrigerated for up to 5 days in an airtight container layered with parchment, or freeze for up to 3 months.
- They are quick to assemble and ideal for parties; chilling time is the main waiting period.
- Use a small cookie scoop for uniform size; 1-inch balls usually yield about 24 pieces from the quantities listed.
My favorite thing about this recipe is how it simplifies holiday prep. In one evening I made three color variations and boxed them for neighbors. Watching the variety of decorations people add—some prefer thick sprinkles while others like a thin crackle of chocolate—reminds me how much personality small treats can carry at gatherings. It also taught me to always keep extra candy melts on hand during December.

Storage Tips
Store these bites in an airtight container layered with parchment to prevent sticking. Refrigerate for up to five days. For longer storage, freeze in a single layer on a tray until firm, then transfer to a freezer-safe container with parchment between layers. Thaw in the refrigerator for at least 1 hour before serving. Avoid room temperature storage for extended periods because the white chocolate coating can soften and the filling may lose shape on warm days.
Ingredient Substitutions
If you prefer a less processed option, replace whipped topping with 1/2 cup heavy cream whipped to soft peaks. For a gluten-free version, use certified gluten-free graham crumbs or finely ground gluten-free cookies. Dark chocolate chips melted with a teaspoon of coconut oil can substitute white chocolate for a richer flavor. To reduce sugar, try a powdered erythritol blend in place of powdered sugar but expect slightly different texture and sweetness intensity.
Serving Suggestions
Present these on a tiered dessert stand or boxed with tissue paper for gifts. Pair with hot beverages such as cocoa or spiced coffee to complement the sweetness. For a contrasting texture, serve alongside crisp apple slices or candied nuts. Garnish plates with mint leaves or extra sprinkles for color. They also sit beautifully on holiday charcuterie boards between nuts and dried fruit.
Cultural Background
Miniature, no-bake confections like these borrow from classic American cheesecake traditions and the European practice of bite-sized petit fours. The use of candy melts to create colorful coatings is a relatively modern convenience tied to confectionery advances in the late 20th century. These treats capture the spirit of holiday confection making—combining familiar dessert flavors with playful decoration traditions that vary by region and family.
Seasonal Adaptations
Change colors and decorations to match different holidays: pastels and edible flowers for spring, orange and brown tones with cinnamon for fall, or red, white, and blue for summer gatherings. Swap graham crumbs for ginger snaps and add a pinch of ground cinnamon for a warmer winter version. For Valentine’s Day, melt pink candy melts and add heart sprinkles for a romantic twist.
Meal Prep Tips
Make a double batch and freeze half for later so you always have party-ready sweets. Portion into individual boxes or mini muffin liners for easy distribution. Use a small cookie scoop to maintain consistent sizing which speeds up rolling and coating. Keep a tray in the freezer to place dipped bites until the coating is completely set; this prevents sticking and preserves a shiny finish.
These little bites are a holiday staple in my home now. They are forgiving, adaptable, and consistently a crowd pleaser. Make a batch, experiment with colors and crumbs, and don’t be surprised when everyone asks for the recipe.
Pro Tips
Use a small cookie scoop to form uniform 1-inch balls for consistent serving sizes and even coating.
Allow the melted white chocolate to cool slightly before folding into the cream cheese to prevent breaking down the whipped topping.
Chill the mixture before rolling; slightly firm filling will make shaping and dipping far easier.
Dip using two forks or a dipping tool and tap gently to remove excess coating for a thin even shell.
This nourishing no-bake christmas cheesecake bites recipe is sure to be a staple in your kitchen. Enjoy every moist, high protein slice — it is perfect for breakfast or as a wholesome snack any time.
FAQs about Recipes
How long do these bites keep?
Refrigerate in an airtight container layered with parchment for up to 5 days, or freeze for up to 3 months. Thaw in the fridge before serving.
How do I fix dull candy coating?
If the candy coating becomes dull, briefly warm the surface with a kitchen torch from a distance or let them sit at room temperature for a few minutes for a slight sheen restoration.
Tags
No-Bake Christmas Cheesecake Bites
This No-Bake Christmas Cheesecake Bites recipe makes perfectly juicy, tender, and flavorful steak every time! Serve with potatoes and a side salad for an unforgettable dinner in under 30 minutes.
Ingredients
Main
Instructions
Beat cream cheese until smooth
In a large bowl, beat 8 ounces softened cream cheese on medium speed until completely smooth and free of lumps, about 2 minutes. Scrape down the sides to ensure even texture.
Add sugar and vanilla
Sift and add 1/2 cup powdered sugar and 1 teaspoon vanilla extract. Mix on low until fully incorporated, taking care to avoid overbeating which can introduce air bubbles.
Melt white chocolate
Melt 1 cup white chocolate chips in the microwave in 20-second bursts, stirring between each. Allow to cool slightly for 2 to 3 minutes before adding to prevent melting the whipped topping.
Fold in crumbs and whipped topping
Stir in 1 cup crushed graham crackers, then gently fold in 1/2 cup thawed whipped topping with a spatula until the mixture is homogeneous but still light.
Chill and shape
Refrigerate the mixture for 30 to 40 minutes until slightly firm. Scoop 1-inch portions and roll into balls, placing them on a parchment-lined baking sheet.
Melt candy melts and coat
Melt red and green candy melts in separate bowls as directed on the package. Dip chilled balls using forks or a dipping tool, tap off excess, and place on fresh parchment. Add sprinkles before the coating sets.
Last Step: Please leave a rating and comment letting us know how you liked this recipe! This helps our business to thrive and continue providing free, high-quality recipes for you.
Nutrition
Did You Make This?
Leave a comment & rating below or tag
@yummyhues on social media!
Categories:
You might also like...

Air-Fried Rice Paper Noodle Rolls
Light, crisp rice paper rolls filled with vermicelli, tofu or shrimp and vibrant vegetables—air-fried to golden perfection for a healthy, speedy snack or appetizer.
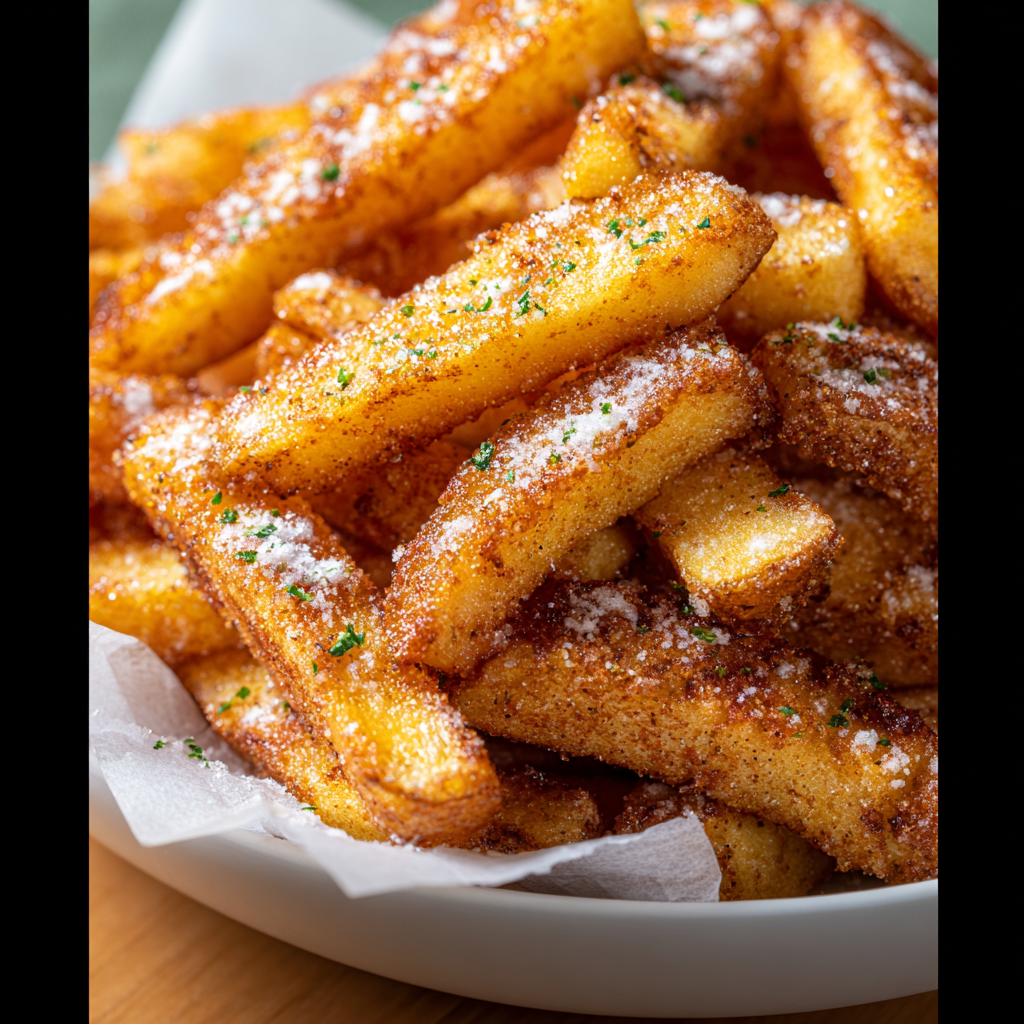
Air Fryer Apple Fries
Crispy, lightly sweet apple sticks coated in panko and cinnamon, ready in minutes from the air fryer. A simple, family friendly snack or dessert.
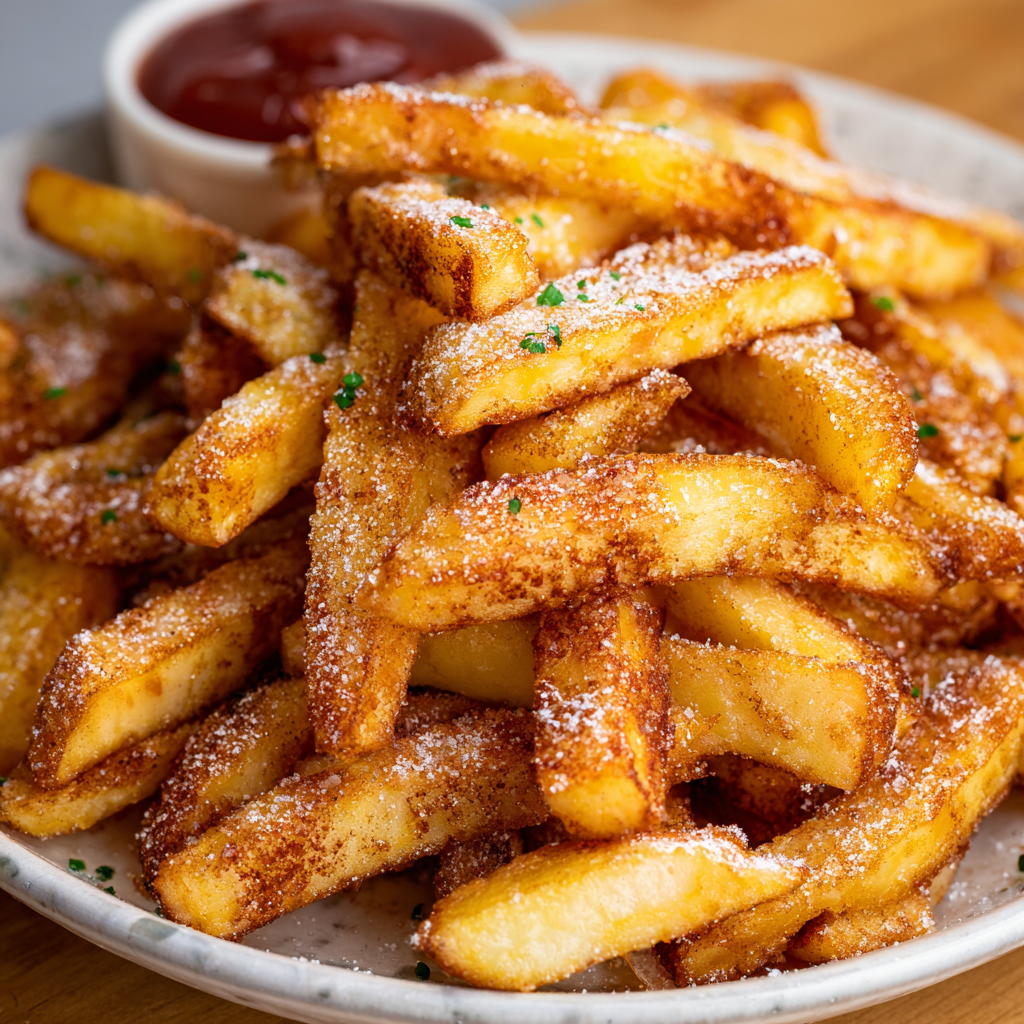
Air Fryer Apple Fries
Crispy, cinnamon-kissed apple sticks air-fried to golden perfection — a quick snack that tastes like dessert, but feels delightfully fresh.
Did You Make This?
Leave a comment & rating below or tag @yummyhues on social media!
Rate This Recipe
Share This Recipe
Enjoyed this recipe? Share it with friends and family, and don't forget to leave a review!
Comments (1)
This recipe looks amazing! Can't wait to try it.
Comments are stored locally in your browser. Server comments are displayed alongside your local comments.
Hi, I'm Chloe!
What's Popular

30-Minute Meals!
Join to receive our email series which contains a round-up of some of our quick and easy family favorite recipes.